3.1 Main Menu
The main menu - as previously stated - hubs together all the prime and essential features of HUBING NOTES.

File
Handwritting
Text
Shapes
Insert
Selection
Eraser
Undo
Redo
Collaboration
Revealer
Exit
Minimize
To gather all the tools and features, it was developed with two different levels.
Usually the menu is on level 1, where you can see the main sets of features, upon the selection of one tool, level 2 of will appear, as shown on the figure. To return to the previous level, just select the centre of the main menu or the main tool.

If no movement is recorded within a minute, the menu will be minimized. To return to the maximized version, select again on the centre. This button will minimize or maximize the menu according to the situation.

3.1.1 File

File – representation of the feature currently being used. Select it or the inner circle to return to Level 1
New File – create a new file. If you are changing a file or you starting a new one and there are pendant changes, HUBING NOTES will ask you if you want to save them before you create a new one
Open File – open an existing file type “.notes”
Save – when first used it will prompt a save location and a name; subsequently it will re-write over the existing file
Save as – it will always prompt a save location and a name, creating a new saved “.notes” file
3.1.2 Handwriting

Handwritting – representation of the feature currently being used. Select it or the inner circle to return to Level 1
Pen – use this tool to annotate. With the revealer open, it is possible to annotate over the desktop and applications
Highlighter – ideal for highlights, this pen has a bigger width and it comes with half-transparency. Often used for marking over existing written text/objects
Pen timed – ideal for bringing attention and focus over, the Pen timed disappears in a few seconds
Thickness – the thickness option will allow for the propriety to be changed before the pen is used. Six different thickness are available

Colour – the colour option will allow for the propriety to be changed before the pen is used. Eleven different colours are available

Object Eraser – when used allows you to – with one touch - delete an entire object
Eraser – when used allows you to delete fragments of the annotations. This will split the objects into fragments creating separate items
Undo – cancel previous actions, maximum of 30 steps
Redo – allows the recovery of actions, maximum of 30 steps

Text – representation of the feature currently being used. Select it or the inner circle to return to Level 1
Write Text – when activated, select the desired location for the text box to appear.
Text Colour – it will allow you to change the colour of the text. Eleven different colours are available

Undo – cancel previous actions, maximum of 30 steps
Redo – allows the recovery of actions, maximum of 30 steps
3.1.4 Shapes

Shapes
Line
Arrow
Circle
Triangle
Square
Pentagon
Hexagon
Object Eraser
Undo
Redo
3.1.5 Insert

Insert – representation of the feature currently being used. Select it or the inner circle to return to Level 1
Images – it allows the import of images. JPG, PNG, SVG, BMP and GIF media file are supported
Undo – cancel previous actions, maximum of 30 steps
Redo – allows the recovery of actions, maximum of 30 steps
3.1.6 Selection

The activation of the Selection tool allows for interactions with objects on the software interface. When disabled, it will allow contact with the desktop or other open applications, avoiding unnecessary minimization of HUBING NOTES.

Software interface
Revealer
Desktop
3.1.7 Collaboration

Collaboration – representation of the feature currently being used. Select it or the inner circle to return to Level 1
Start Collaboration
HUBING NOTES provides a Collaboration mode which allows a set of users to annotate and create content simultaneously in the same canvas. By canvas we mean a single revealer that all the participants can jointly collaborate and work simultaneously on it, henceforth we will call this place a room. Imagine different participants connected to the room working together as one.

The HUBING NOTES collaboration mode requires the usage of the same wi-fi network between all participants and supports up to 10 simultaneous users in a single session.
How to begin collaboration session:
To start a collaboration session, go to the Collaboration menu and select the Start button.

Collaboration – representation of the feature currently being used. Select it or the inner circle to return to Level 1
Start Collaboration
One of the users must create a room, becoming automatically the host. Afterwards, all other participants will be able to join the session. Both processes are described in the step-by-step bellow.
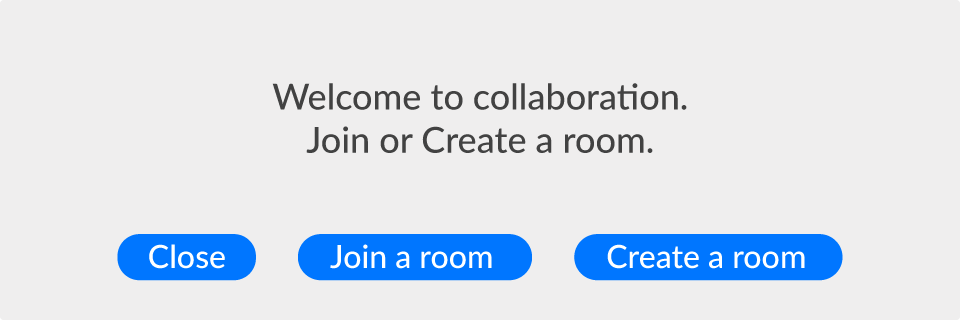
How to create a collaboration room:
Go to the collaboration menu and select the button "Start Collaboration";
Create a room and follow the indications provided in each step;
In the top of the screen there is the address from the session – which the participants will need to join – and the number of connected participants.

How to join a collaboration room:
Go to the collaboration menu and select the button "Start Collaboration";
Join a room and follow the indications provided in each step;
For the session address look at the top left corner of the host’s desktop. Enter it in the required field and continue the steps. Think of the Session address as your computer address that the participants need to access to connect. Much like one must know the home address so a letter can reach the right destination.
Imagine the collaboration mode as a whiteboard, where each participant can write and work on the board. Just as a whiteboard everyone will be able to identify who made what, with their name appearing upon an action.
Rules in the collaboration:
Before creating a room or joining a session make sure to save all changes on the existent file;
When an object is selected by one user, it becomes semi-transparent for all others. Here only the host is able to select the object in matter, being locked for all the other participants. After 60 seconds the selection will be discarded allowing the object to be once again selected by any participant of the session;
The revealer is close throughout the collaboration session;
Page navigation is locked;
So is the undo and redo tool.
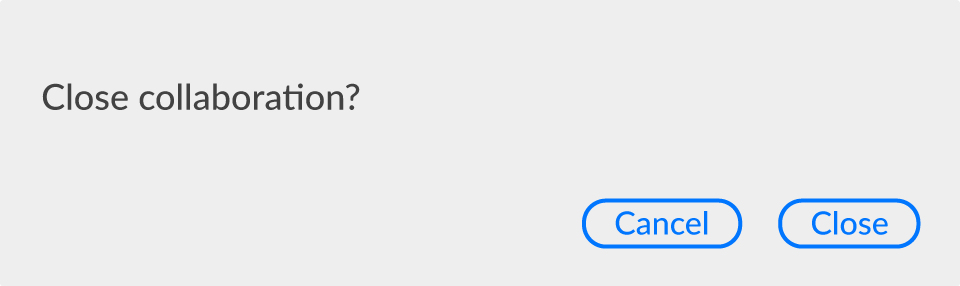
Both as a host or as a participant, to leave the room select the button stop collaboration in the main menu.

Collaboration – representation of the feature currently being used. Select it or the inner circle to return to Level 1
Stop Collaboration
3.1.8 Revealer

Revealer – representation of the feature currently being used. Select it or the inner circle to return to Level 1
Revealer colours – It will allow you to change the background colour of the revealer. Eleven different colours are available.

By default the revealer allows you to directly annotate over the opened applications. Since context is everything, HUBING NOTES will take a screenshot when the revealer is open, saving the background as well as the annotations.

Completely closed the revealer offers a whole canvas where one can create content such as presentations.